Getting Started with the FAIRINO MoveIt2 Plugin
Overview
In this tutorial, we focus on the installation and setup of a basic MoveIt2 environment using the FR5 cobot model. By the end of this tutorial, you should have a basic understanding of MoveIt2, and how to launch a functional planning environment without integrating a real cobot or simulator.
MoveIt 2 is a motion planning framework built on top of ROS2 that adds advanced robotic capabilities such as trajectory planning, collision avoidance, kinematics solving, scene awareness, and motion execution. Instead of manually controlling each robot joint, MoveIt2 allows users to define target positions or poses while the framework automatically computes safe and optimized robot motions.
Prerequisites
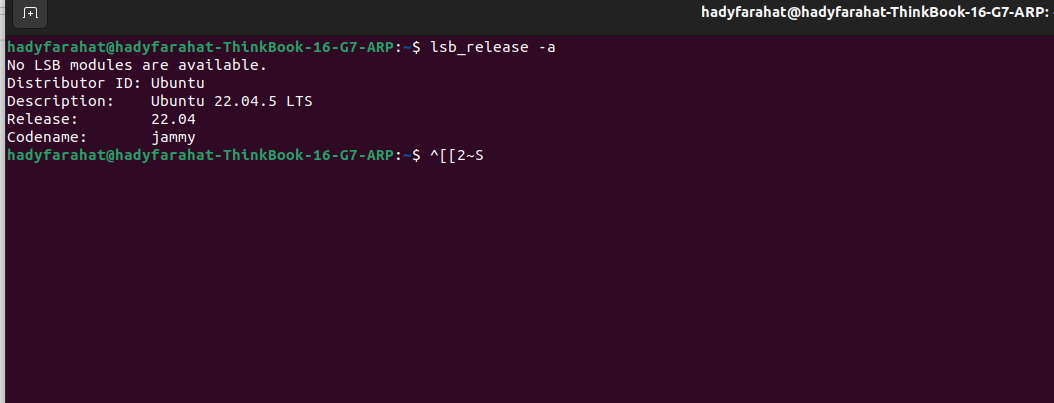
Ubuntu 22.04
To confirm that you are running the correct Ubuntu version, use the following command:

lsb_release -a
ROS 2 Humble
To verify that ROS 2 Humble is installed correctly, run:
echo $ROS_DISTRO
Setup Steps
Install MoveIt2 for ROS 2 Humble
Update your package list:
sudo apt update
Install MoveIt2 and the MoveIt Setup Assistant
sudo apt install ros-humble-moveit ros-humble-moveit-setup-assistant
After installation, verify that MoveIt2 was installed successfully:
ros2 pkg list | grep moveit
MoveIt2 should now be installed and ready to use.
Install the Fairino MoveIt2 Plugin
Clone the `frcobot_ros2` repository:
Source ROS 2 Humble
Before building the plugin locally, make sure your ROS 2 environment is sourced correctly.
Open your `.bashrc` file:
cat ~/.bashrc
Ensure the following line exists:
source /opt/ros/humble/setup.bash
After updating `.bashrc`, reload it using:
source ~/.bashrc
Build the Required Packages
Navigate to your workspace:
cd ~/path/to/fairino/plugin
Build the required packages sequentially:
colcon build --packages-select fairino_msgs
source install/setup.bash
colcon build --packages-select fairino_hardware_v3_9_5
source install/setup.bash
colcon build --packages-select fairino_description
source install/setup.bash
colcon build --packages-select fairino5_v6_moveit2_config
source install/setup.bash

Depending on your robot model and software version, you may need to modify the selected hardware package and MoveIt configuration package accordingly.
Launch the MoveIt2 Demo
Once all packages are built successfully, launch the MoveIt2 demo environment:
ros2 launch fairino5_v6_moveit2_config demo.launch.py
This will start RViz2 with the Fairino FR5 MoveIt2 configuration and allow you to test motion planning with the integrated gripper configuration.
You MUST source your environment in every new terminal session before running the demo
source /opt/ros/humble/setup.bash
source ~/path/to/fairino/plugin/install/setup.bash
# Launch MoveIt2 demo
ros2 launch fairino5_v6_moveit2_config demo.launch.py
Related Articles
Setting Collision Level
Fairino Collision detection sensitivity The Fairino robotic arms are Cobots, meaning they are meant to work around people safely. A key to accomplishing this is the "Collision detection" setting. This article will cover how to set the collision level ...Fairino FAQ
Q: How do I connect my DH gripper to my Fairino? A: Follow the instructions linked here ...Fairino Servo Commands (SDK)
Servo commands, while being intimidating and complex at first, are a low level way to control your robot while getting precise movements and are ideal for low level control and accuracy. When using these servo commands with the SDK, you may notice a ...How to update Fairino Robot Software
Step 1) - Navigate to the Fairino documentation page here - Use the version select button in the bottom right to select the target software version you wish to migrate to (please note the compatibility table below): Current Version Maximum Upgradable ...Connecting an XJC Force/Torque Sensor to Fairino Cobot
This article will cover the steps needed to connect your XJC force/torque sensor to the end of a Fairino Cobot arm Hardware required: - 1 XJC force sensor - 1 Fairino Cobot - 1 computer with ethernet connection to Control box/button box OR 1 teach ...